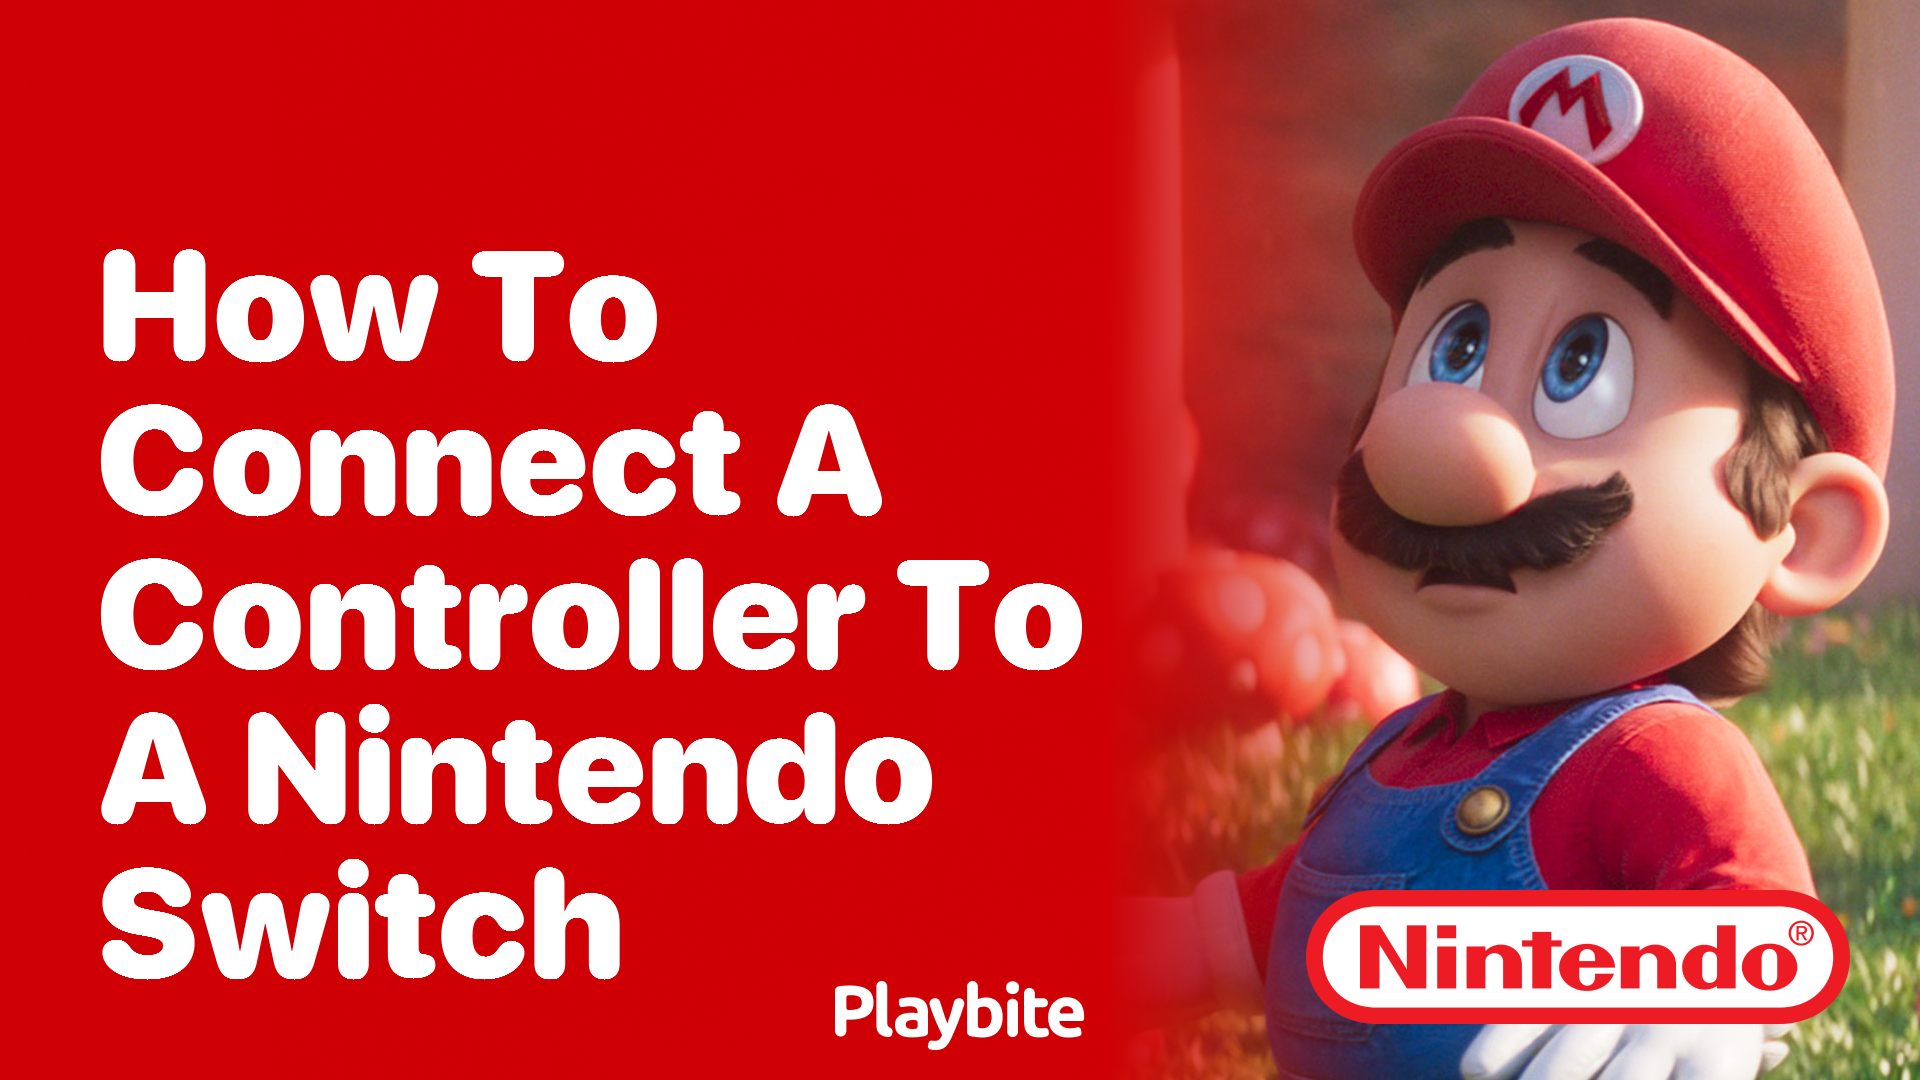
How to Connect a Controller to a Nintendo Switch
Last updated
Ever wondered how to get your game on by connecting a controller to your Nintendo Switch? You’re in luck because that’s exactly what we’re diving into today!
Let’s break down how to hook up a controller to your Nintendo Switch in simple steps, so you can get back to gaming without missing a beat.
Quick Steps to Connect Your Controller
Connecting a controller to your Nintendo Switch is easier than pie! First, make sure your Switch is on. Then, if you have a wireless controller, you’ll want to go to the Controllers screen on your Switch’s main menu. Here, select ‘Change Grip/Order’. Now, just press the sync button on your controller until the lights start flashing. Your Switch will do the rest and boom – connected!
If it’s a wired controller, just plug it into the USB port on the dock. If your Switch is in handheld mode, you might need a USB-C adapter. That’s all there is to it!
Connecting Your Controller Leads to Fun and Rewards with Playbite
Now that your controller is connected, how about we add a bit more fun to the mix? Download the Playbite app and join a vibrant community of gamers earning rewards just by playing casual mobile games. Imagine having a blast and getting rewarded with Nintendo eShop Gift Cards! All you have to do is play, earn, and redeem. It’s gaming made even more rewarding. Ready to up your gaming experience? Jump into Playbite now and start winning.
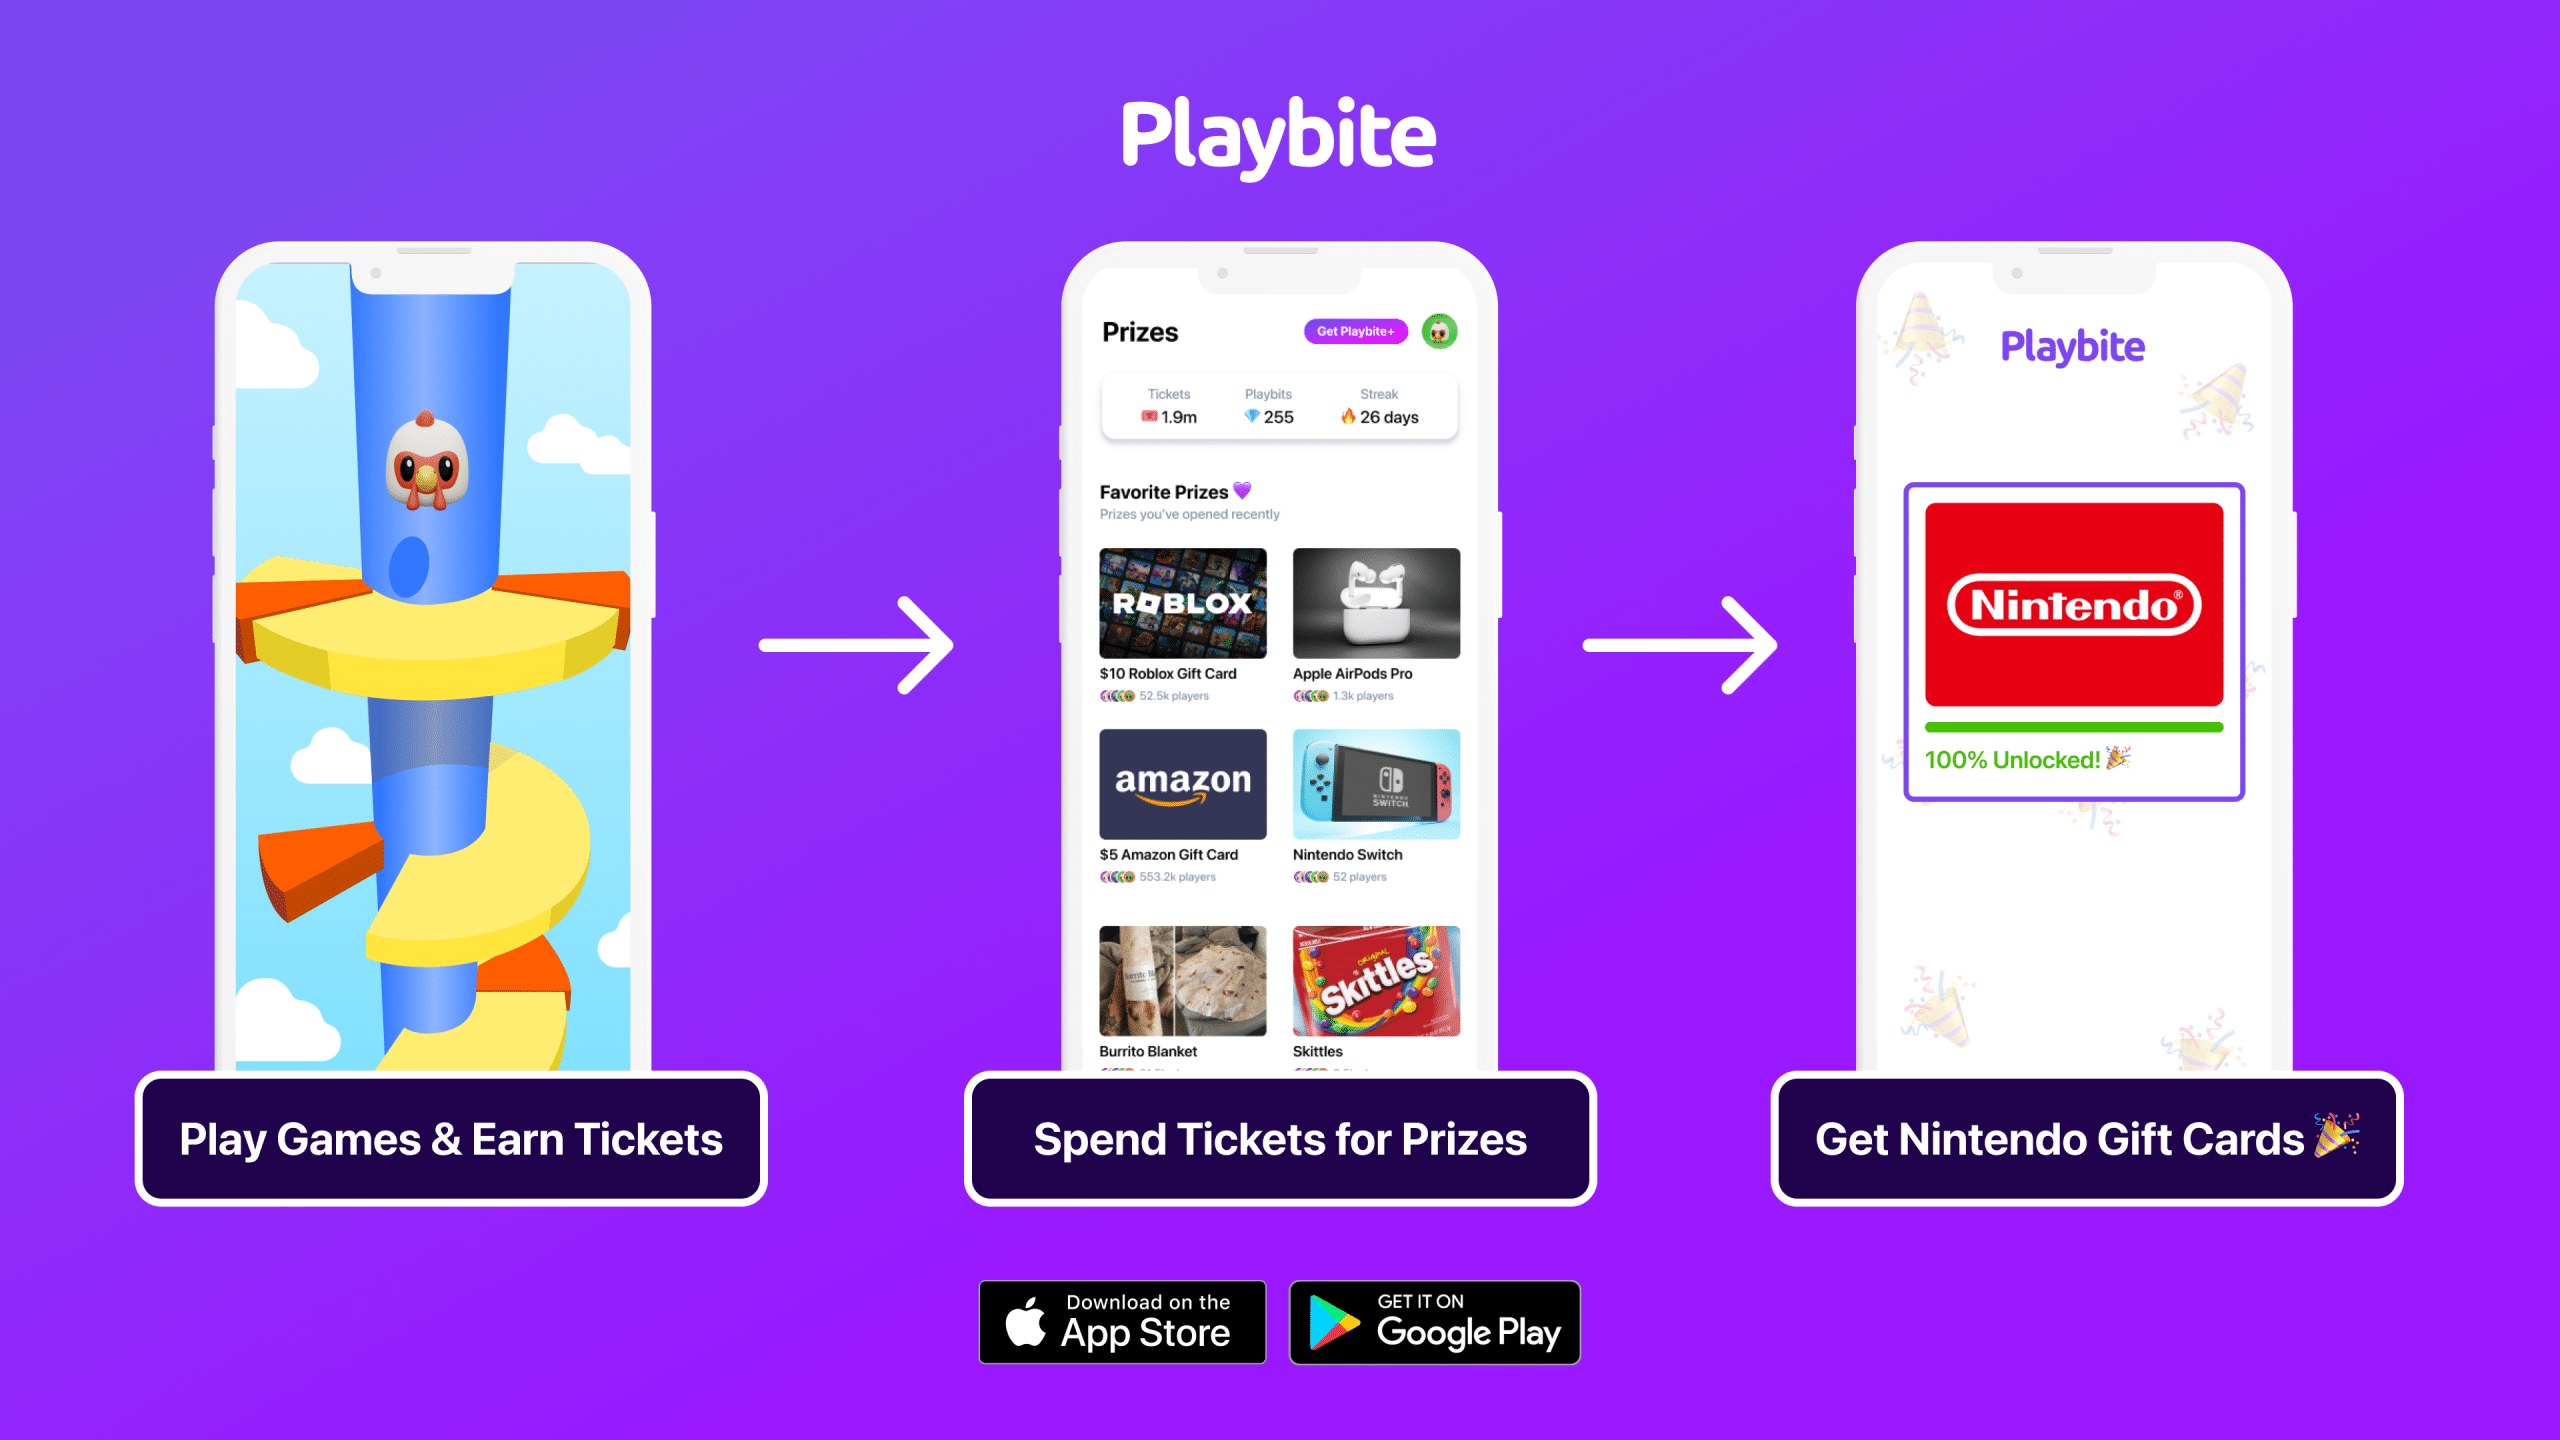
In case you’re wondering: Playbite simply makes money from (not super annoying) ads and (totally optional) in-app purchases. It then uses that money to reward players with really cool prizes!
Join Playbite today!


The brands referenced on this page are not sponsors of the rewards or otherwise affiliated with this company. The logos and other identifying marks attached are trademarks of and owned by each represented company and/or its affiliates. Please visit each company's website for additional terms and conditions.