How to Host a Minecraft Server on Your PC
Last updated
Ever wondered about creating your very own Minecraft server on your PC? You’re not alone! Hosting your Minecraft server can unlock a world of endless possibilities and fun. Let’s dive into how you can set up your server.
So, how do you host a Minecraft server on your PC? Let’s break it down into simple steps.
Quick Steps to Host Your Minecraft Server
First, you need a PC with enough power to support running a server and playing the game simultaneously. Next, download the Minecraft server file from the official website. Run it on your computer, adjust the server settings to your liking, and voila, you’re ready to invite friends!
Remember, you’ll need to ensure your internet connection is strong enough to support multiple players. Also, keep an eye on your PC’s performance. Hosting a server can be demanding!
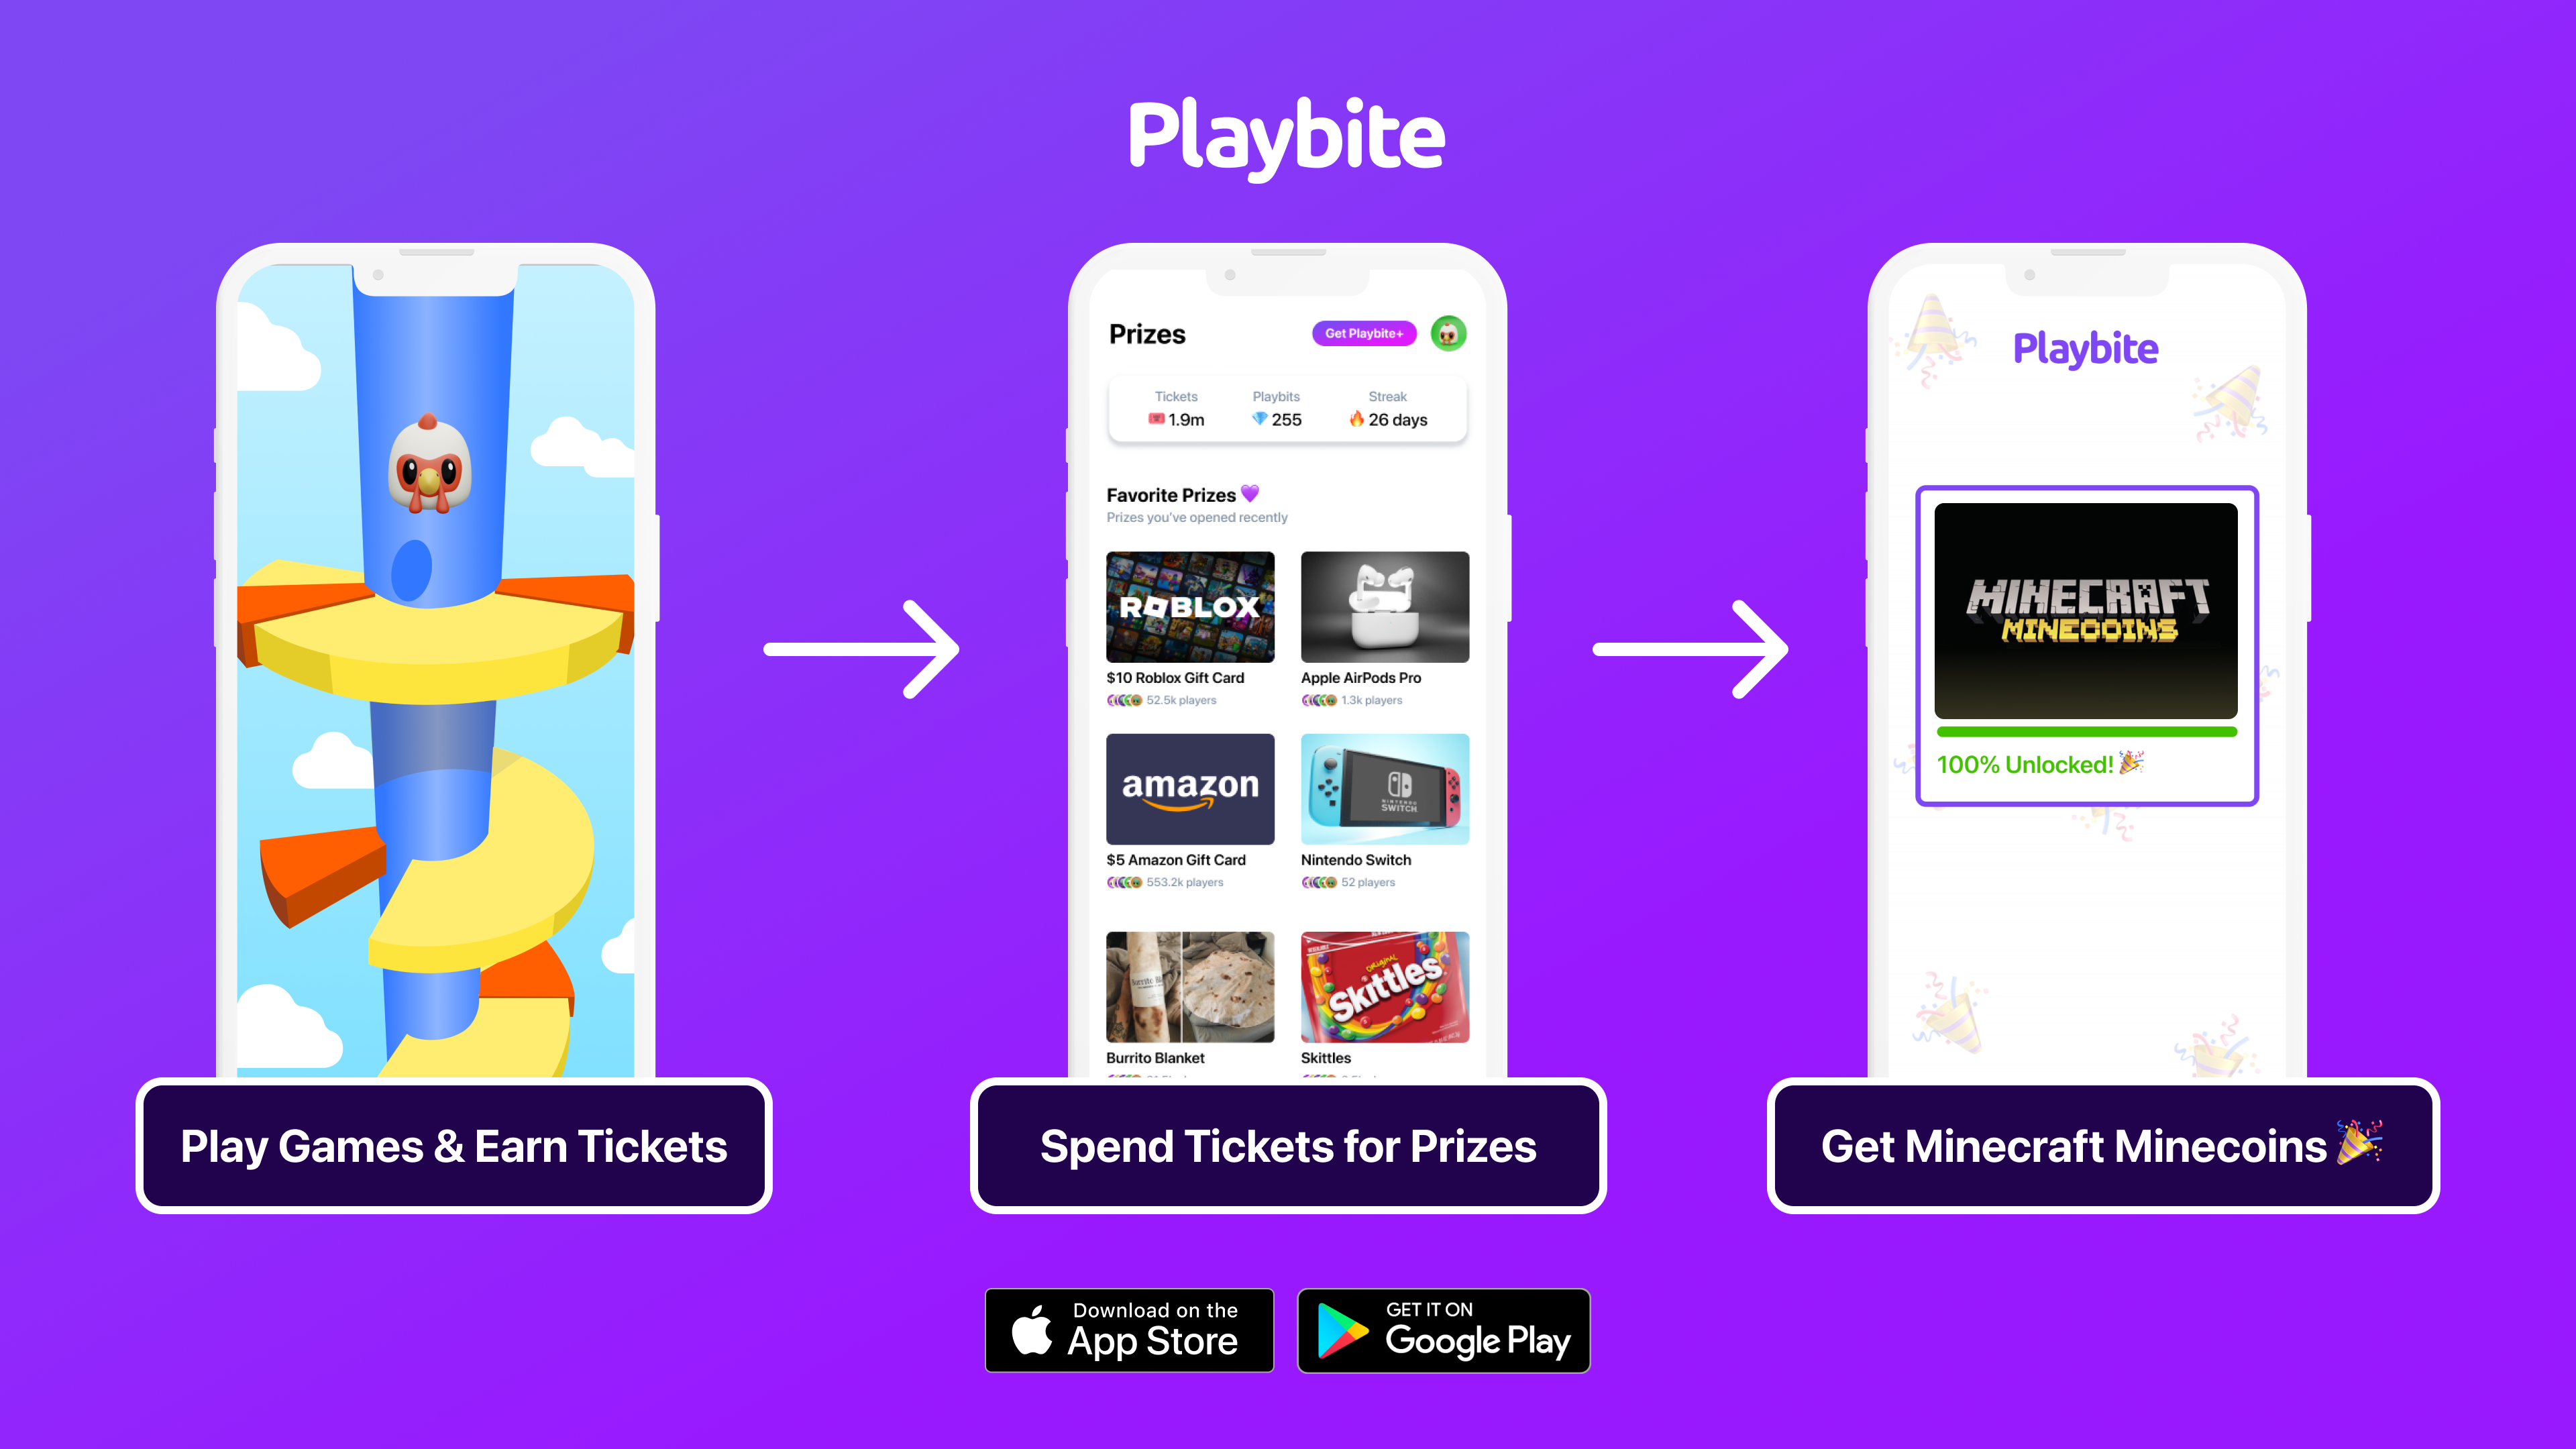
Connecting Playbite and Minecraft Fun
Now, imagine combining the joy of hosting your Minecraft server with the excitement of winning Minecraft rewards. That’s where Playbite comes in! By playing casual games on the Playbite app, you can earn Minecraft Gift Cards. It’s a win-win: enjoy building your Minecraft world while snagging cool rewards.
So what are you waiting for? Download the Playbite app today and start earning rewards while having fun. With Playbite, your gaming adventures go beyond the screen, allowing you to reap real-world benefits.
In case you’re wondering: Playbite simply makes money from (not super annoying) ads and (totally optional) in-app purchases. It then uses that money to reward players with really cool prizes!
Join Playbite today!


The brands referenced on this page are not sponsors of the rewards or otherwise affiliated with this company. The logos and other identifying marks attached are trademarks of and owned by each represented company and/or its affiliates. Please visit each company's website for additional terms and conditions.