How to Make a Tool on Roblox
Last updated
Are you eager to learn how to make a tool on Roblox? You’ve landed in the right spot! Making a tool in Roblox is a brilliant way to add unique features and fun elements to your games. Let’s dive into how you can create your own tool from scratch.
So, you’re wondering how you can make your very own tool in Roblox, right? Well, making a tool involves a blend of creativity and a bit of coding. But don’t worry, it’s not as hard as it sounds!
Steps to Creating Your Roblox Tool
To start making a tool on Roblox, you first need to open Roblox Studio, the creative playground for designing Roblox games. Here, you’ll find all the resources and tools needed to bring your imagination to life.
First, access the Toolbox to find objects or templates to use as your tool. Next, you’ll drag your chosen object into your game’s workspace. Then, let’s get to the fun part – coding! Using the scripting language Lua, you write codes to define what your tool does. Don’t worry if you’re new to coding. Roblox has plenty of tutorials to help you get started.
Turn Your Creativity into Rewards with Playbite
After mastering how to create tools on Roblox, why not turn your creativity into exciting rewards? Download the Playbite app! It’s a fun way to play casual mobile games and earn rewards, including official Roblox gift cards. This way, you can get robux for free and enhance your Roblox experience without spending a dime. Plus, who doesn’t love winning?
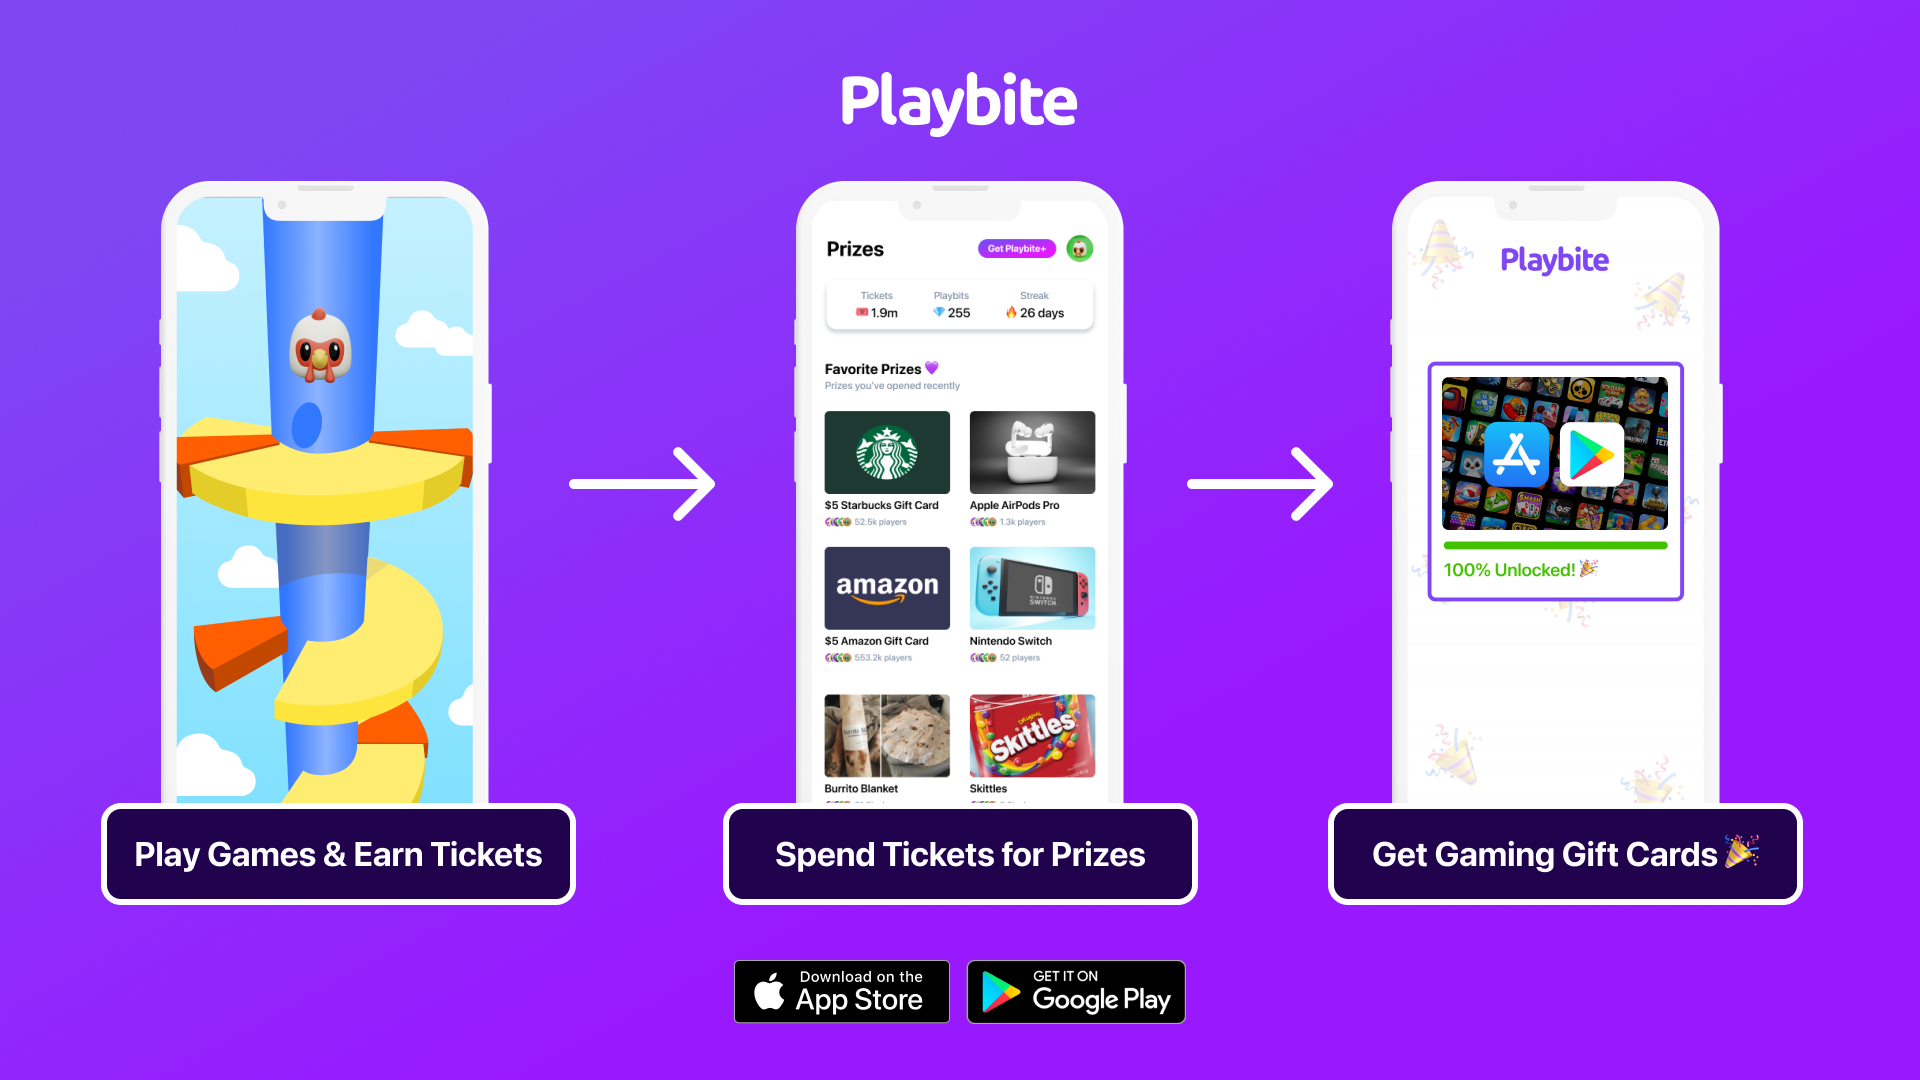
In case you’re wondering: Playbite simply makes money from (not super annoying) ads and (totally optional) in-app purchases. It then uses that money to reward players with really cool prizes!
Join Playbite today!


The brands referenced on this page are not sponsors of the rewards or otherwise affiliated with this company. The logos and other identifying marks attached are trademarks of and owned by each represented company and/or its affiliates. Please visit each company's website for additional terms and conditions.