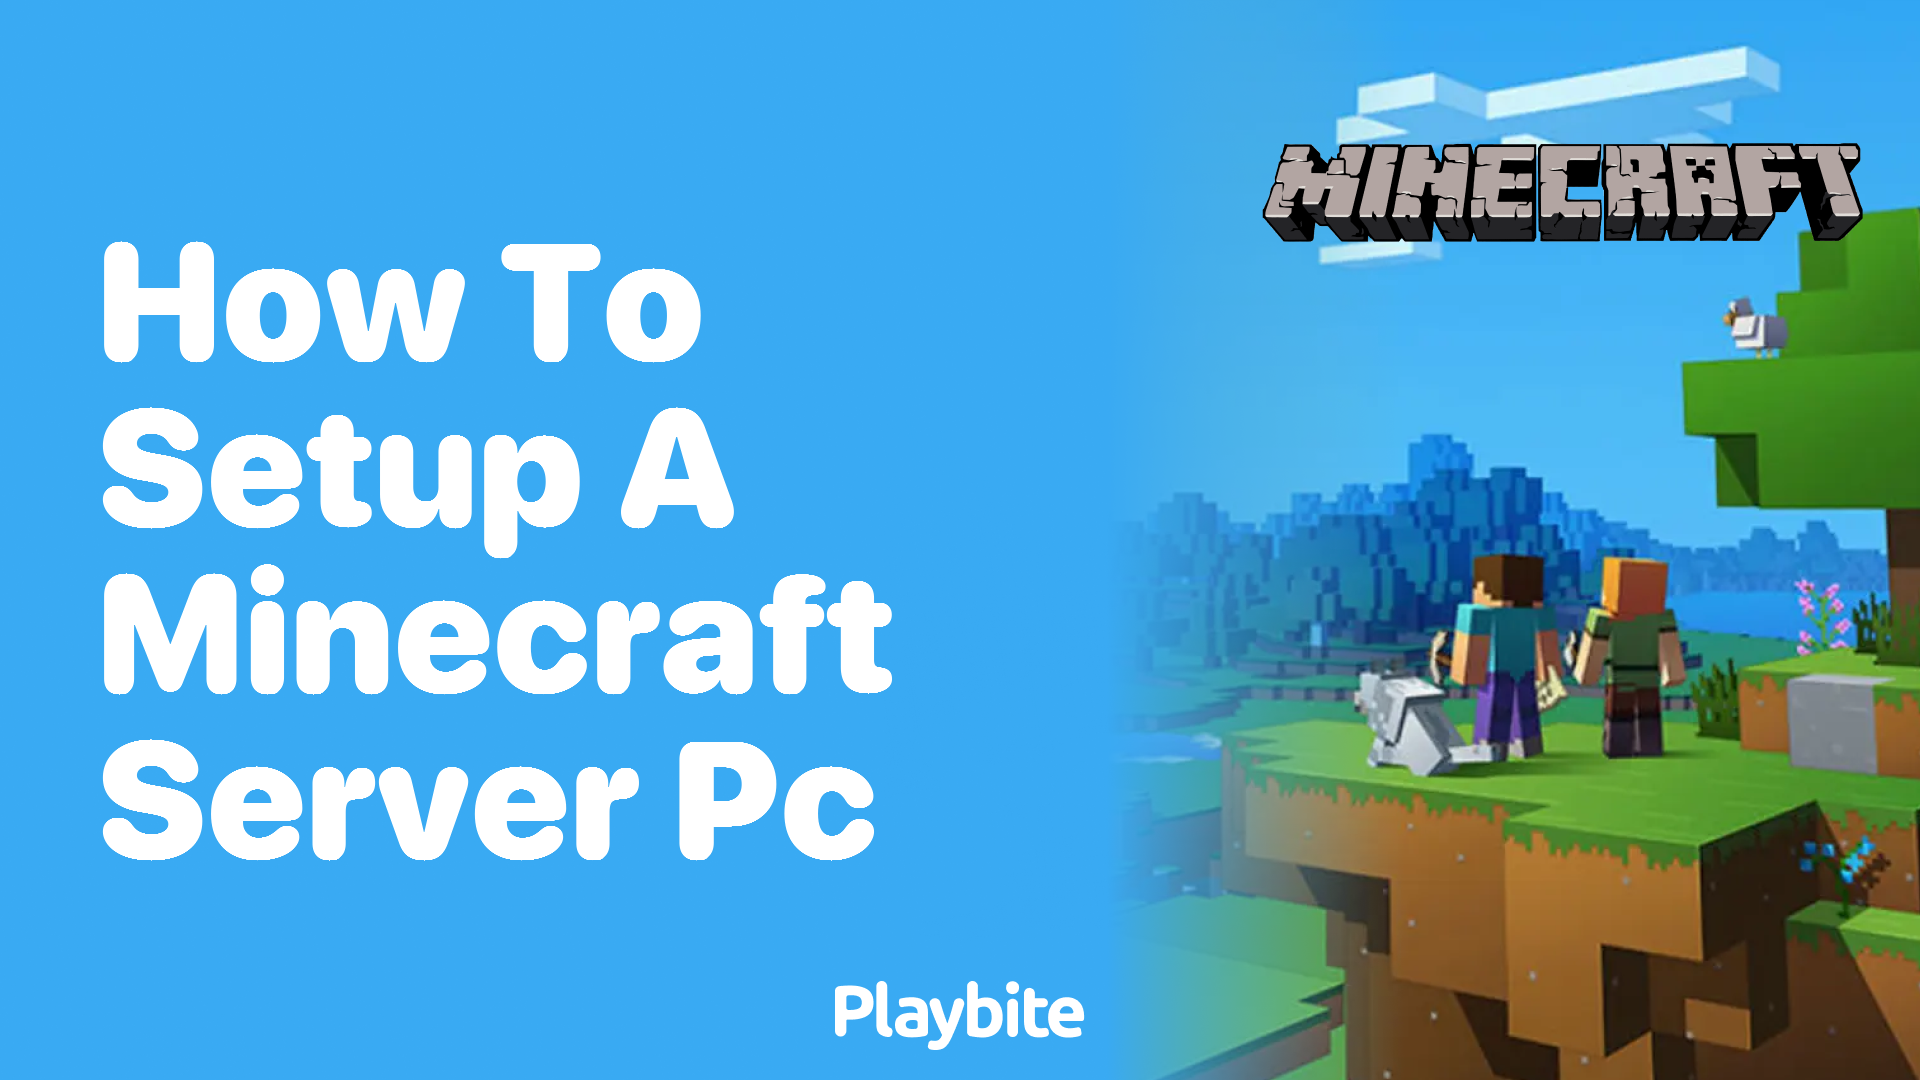
How to Set Up a Minecraft Server on Your PC
Last updated
Ever wanted to create your very own Minecraft server on your PC? This is the perfect spot to learn how!
Let’s dive into how you can set up a Minecraft server on your PC, allowing you to play with friends and family.
Quick Steps to Set Up Your Minecraft Server
Setting up a Minecraft server on your PC is easier than you might think! First things first, you’ll need to download the Minecraft server software from the official Minecraft website.
Once you have the software, create a folder on your PC where you can store all your server files. Run the server program, which will generate world files in your folder. Then, you’ll need to open your network’s port, usually 25565, through your router settings. Lastly, share your server’s IP address with your friends, and you’re ready to start building together!
Connecting Your Minecraft Adventures to Playbite
Now that you’ve set up your Minecraft server, why not bring some of that creative energy to Playbite? By downloading the Playbite app, you can play loads of fun games and even earn official Minecraft Gift Cards. It’s a fantastic way to keep the adventure going, even when you’re taking a break from your server. Join the fun at Playbite and start earning while playing!

In case you’re wondering: Playbite simply makes money from (not super annoying) ads and (totally optional) in-app purchases. It then uses that money to reward players with really cool prizes!
Join Playbite today!


The brands referenced on this page are not sponsors of the rewards or otherwise affiliated with this company. The logos and other identifying marks attached are trademarks of and owned by each represented company and/or its affiliates. Please visit each company's website for additional terms and conditions.