How to Use the Cartography Table in Minecraft
Last updated
Ever wondered how to enhance your map-making skills in Minecraft? You’re not alone! We’re diving into how to use a cartography table in the blocky world of Minecraft.
In Minecraft, the cartography table is your go-to station for expanding, copying, and locking maps. Let’s break down how you can master the art of cartography in the game.
Step-By-Step Guide to Using a Cartography Table
First things first, to use a cartography table in Minecraft, you need to have one. You can find them in villages or craft them using 4 wood planks and 2 pieces of paper. Place it wherever you like in your world.
Now, to use the table: Open it, and you’ll see two slots. In the first slot, place the map you want to work on. Depending on what you want to do, the second slot will either hold another map, a piece of paper (to expand the map), or a glass pane (to lock the map). Voila! You’ve just leveled up your map game.
Unlocking Minecraft Rewards with Playbite
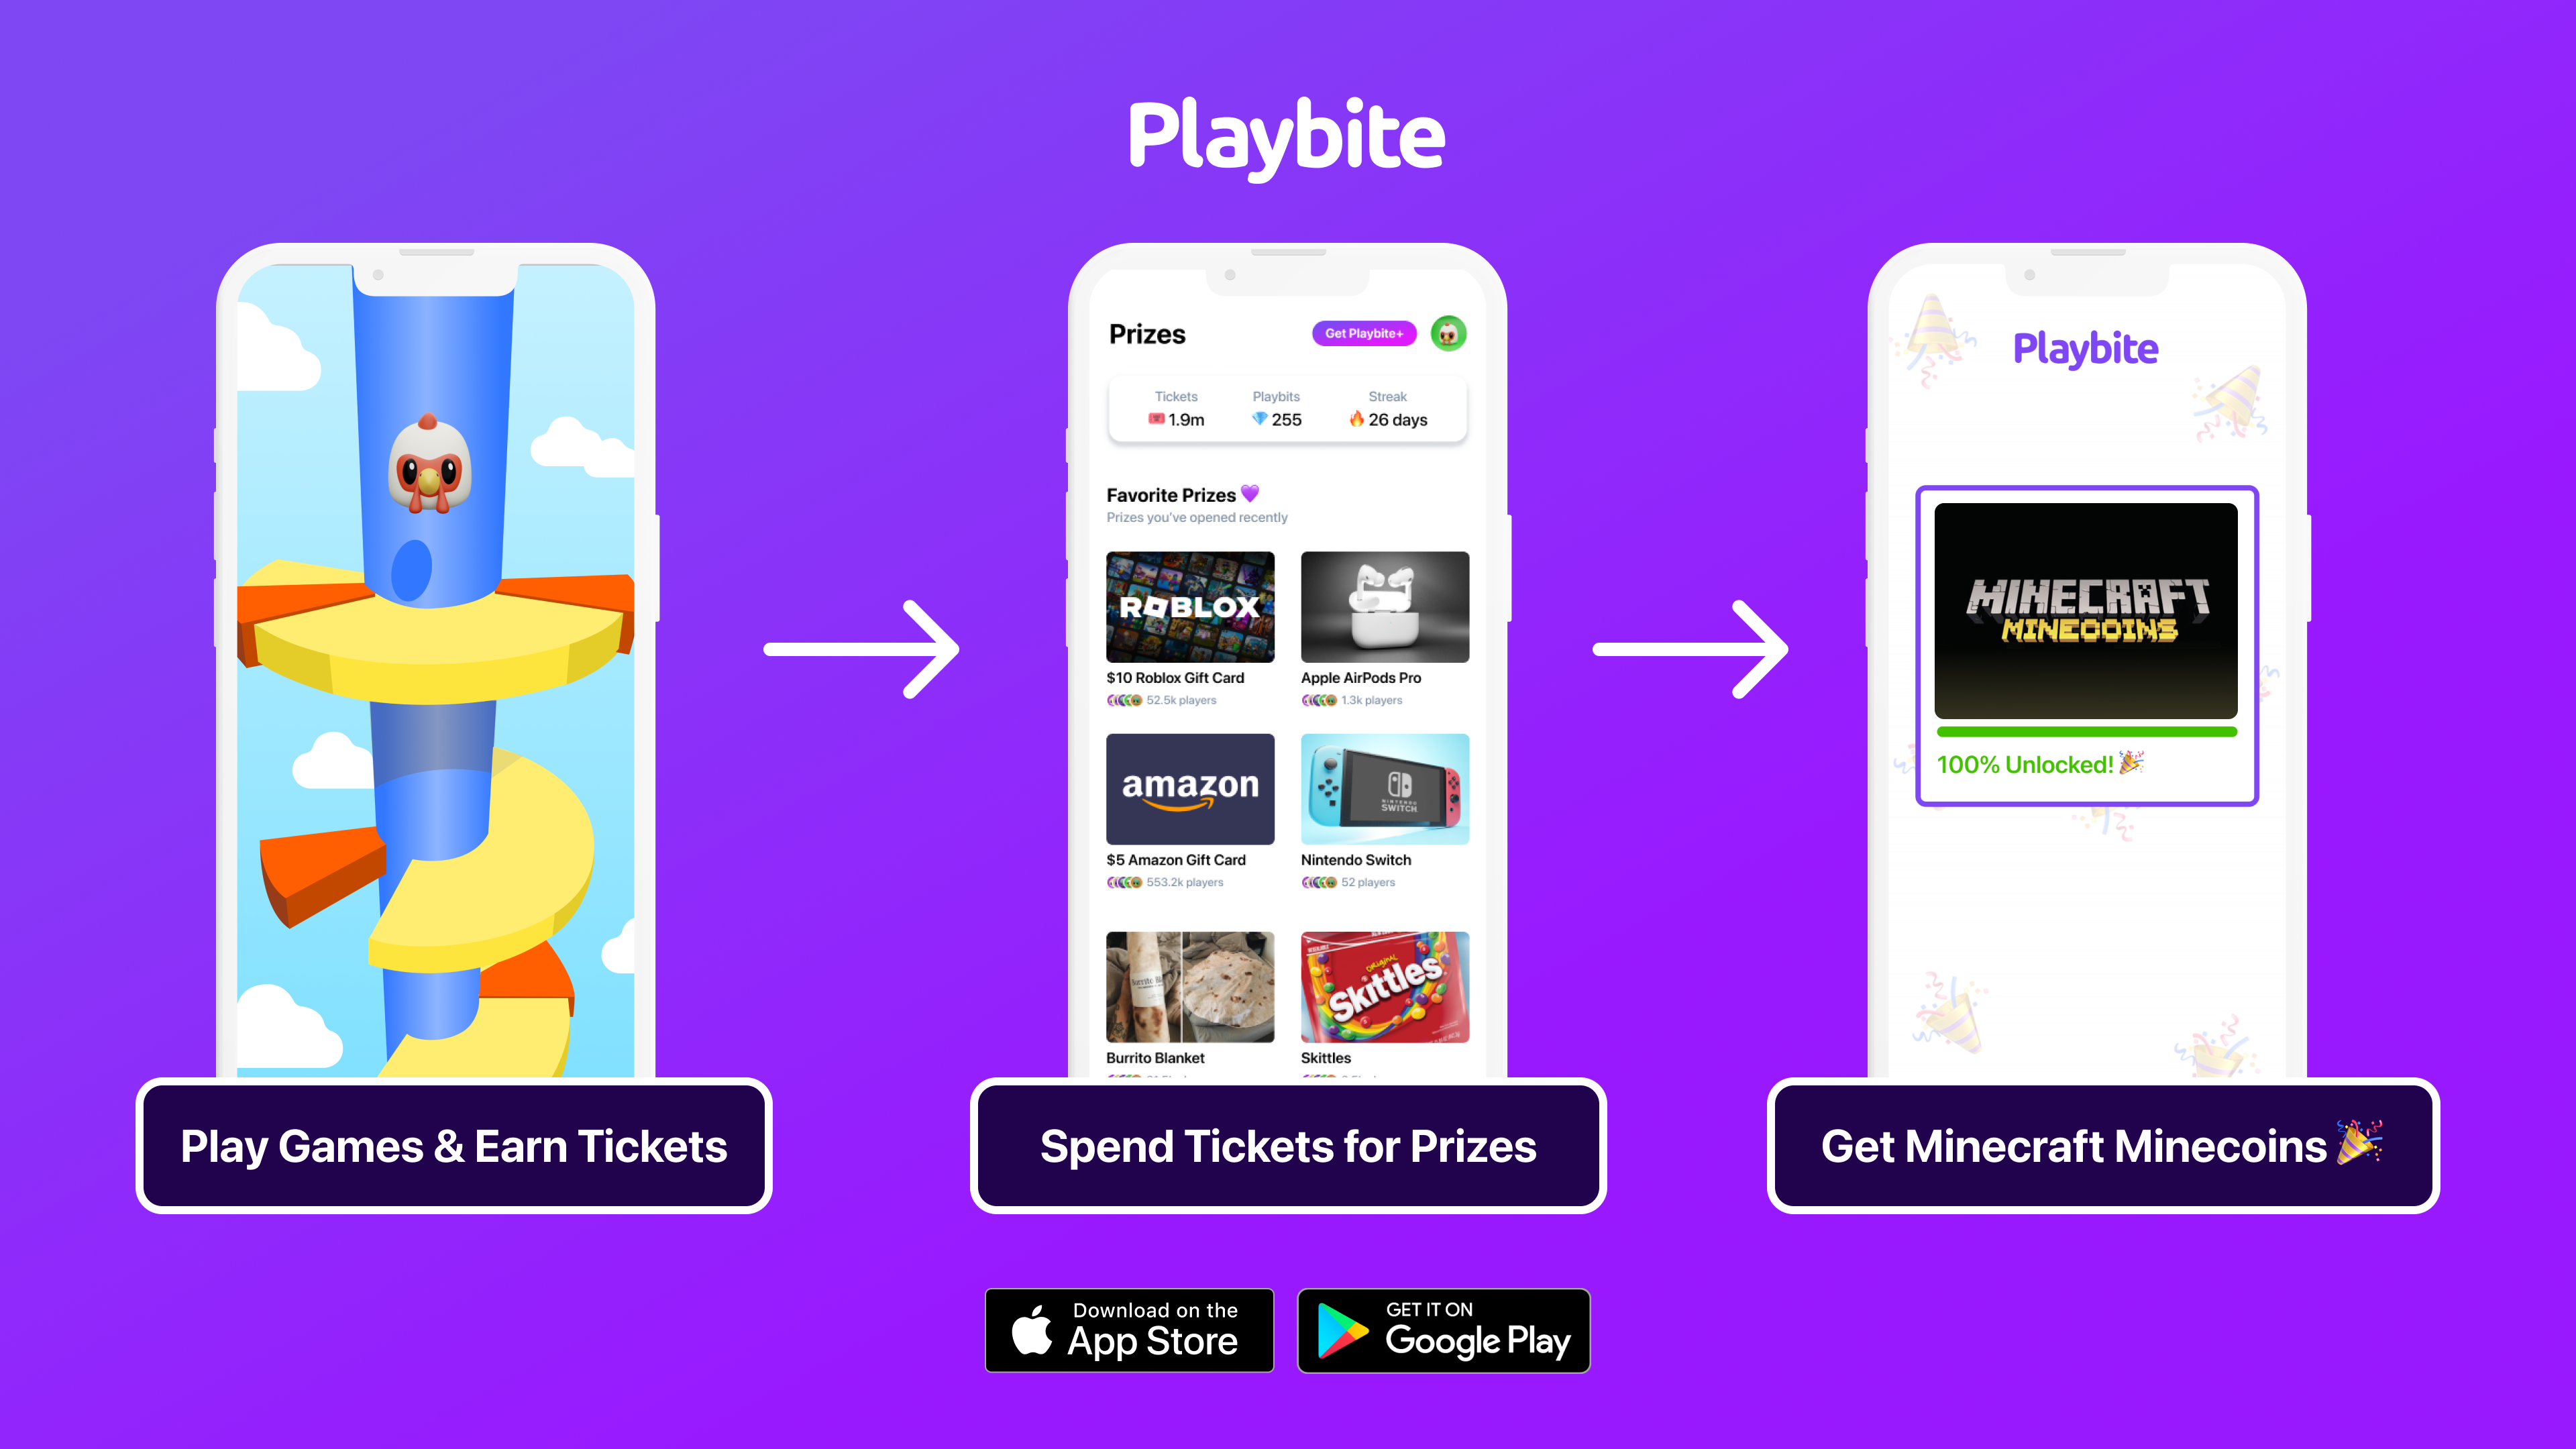
If you’re a fan of Minecraft and love unlocking new skills like using the cartography table, you’ll adore Playbite. It’s an app where playing fun games earns you points towards awesome rewards, like official Minecraft Gift Cards! Imagine enhancing your Minecraft experience just by playing mobile games. Download the Playbite app and start turning your gaming into gifts today.
In case you’re wondering: Playbite simply makes money from (not super annoying) ads and (totally optional) in-app purchases. It then uses that money to reward players with really cool prizes!
Join Playbite today!


The brands referenced on this page are not sponsors of the rewards or otherwise affiliated with this company. The logos and other identifying marks attached are trademarks of and owned by each represented company and/or its affiliates. Please visit each company's website for additional terms and conditions.